Paperie + Pen

Creating beautiful custom invitations and announcements since 2009.
  • Home
  • INVITATIONS
  • About Us
  • Contact
  • CLIENT PORTAL
  • Home
  • INVITATIONS
  • About Us
  • Contact
  • CLIENT PORTAL

Blog

  • All
  • #radpaperhowto DIY
  • Events!
  • Meet the Staff!
  • Rad Paper + Products
  • Vendor Spotlight

Easy DIY Paper Pumpkins

Ampersand Studios October 28, 2015

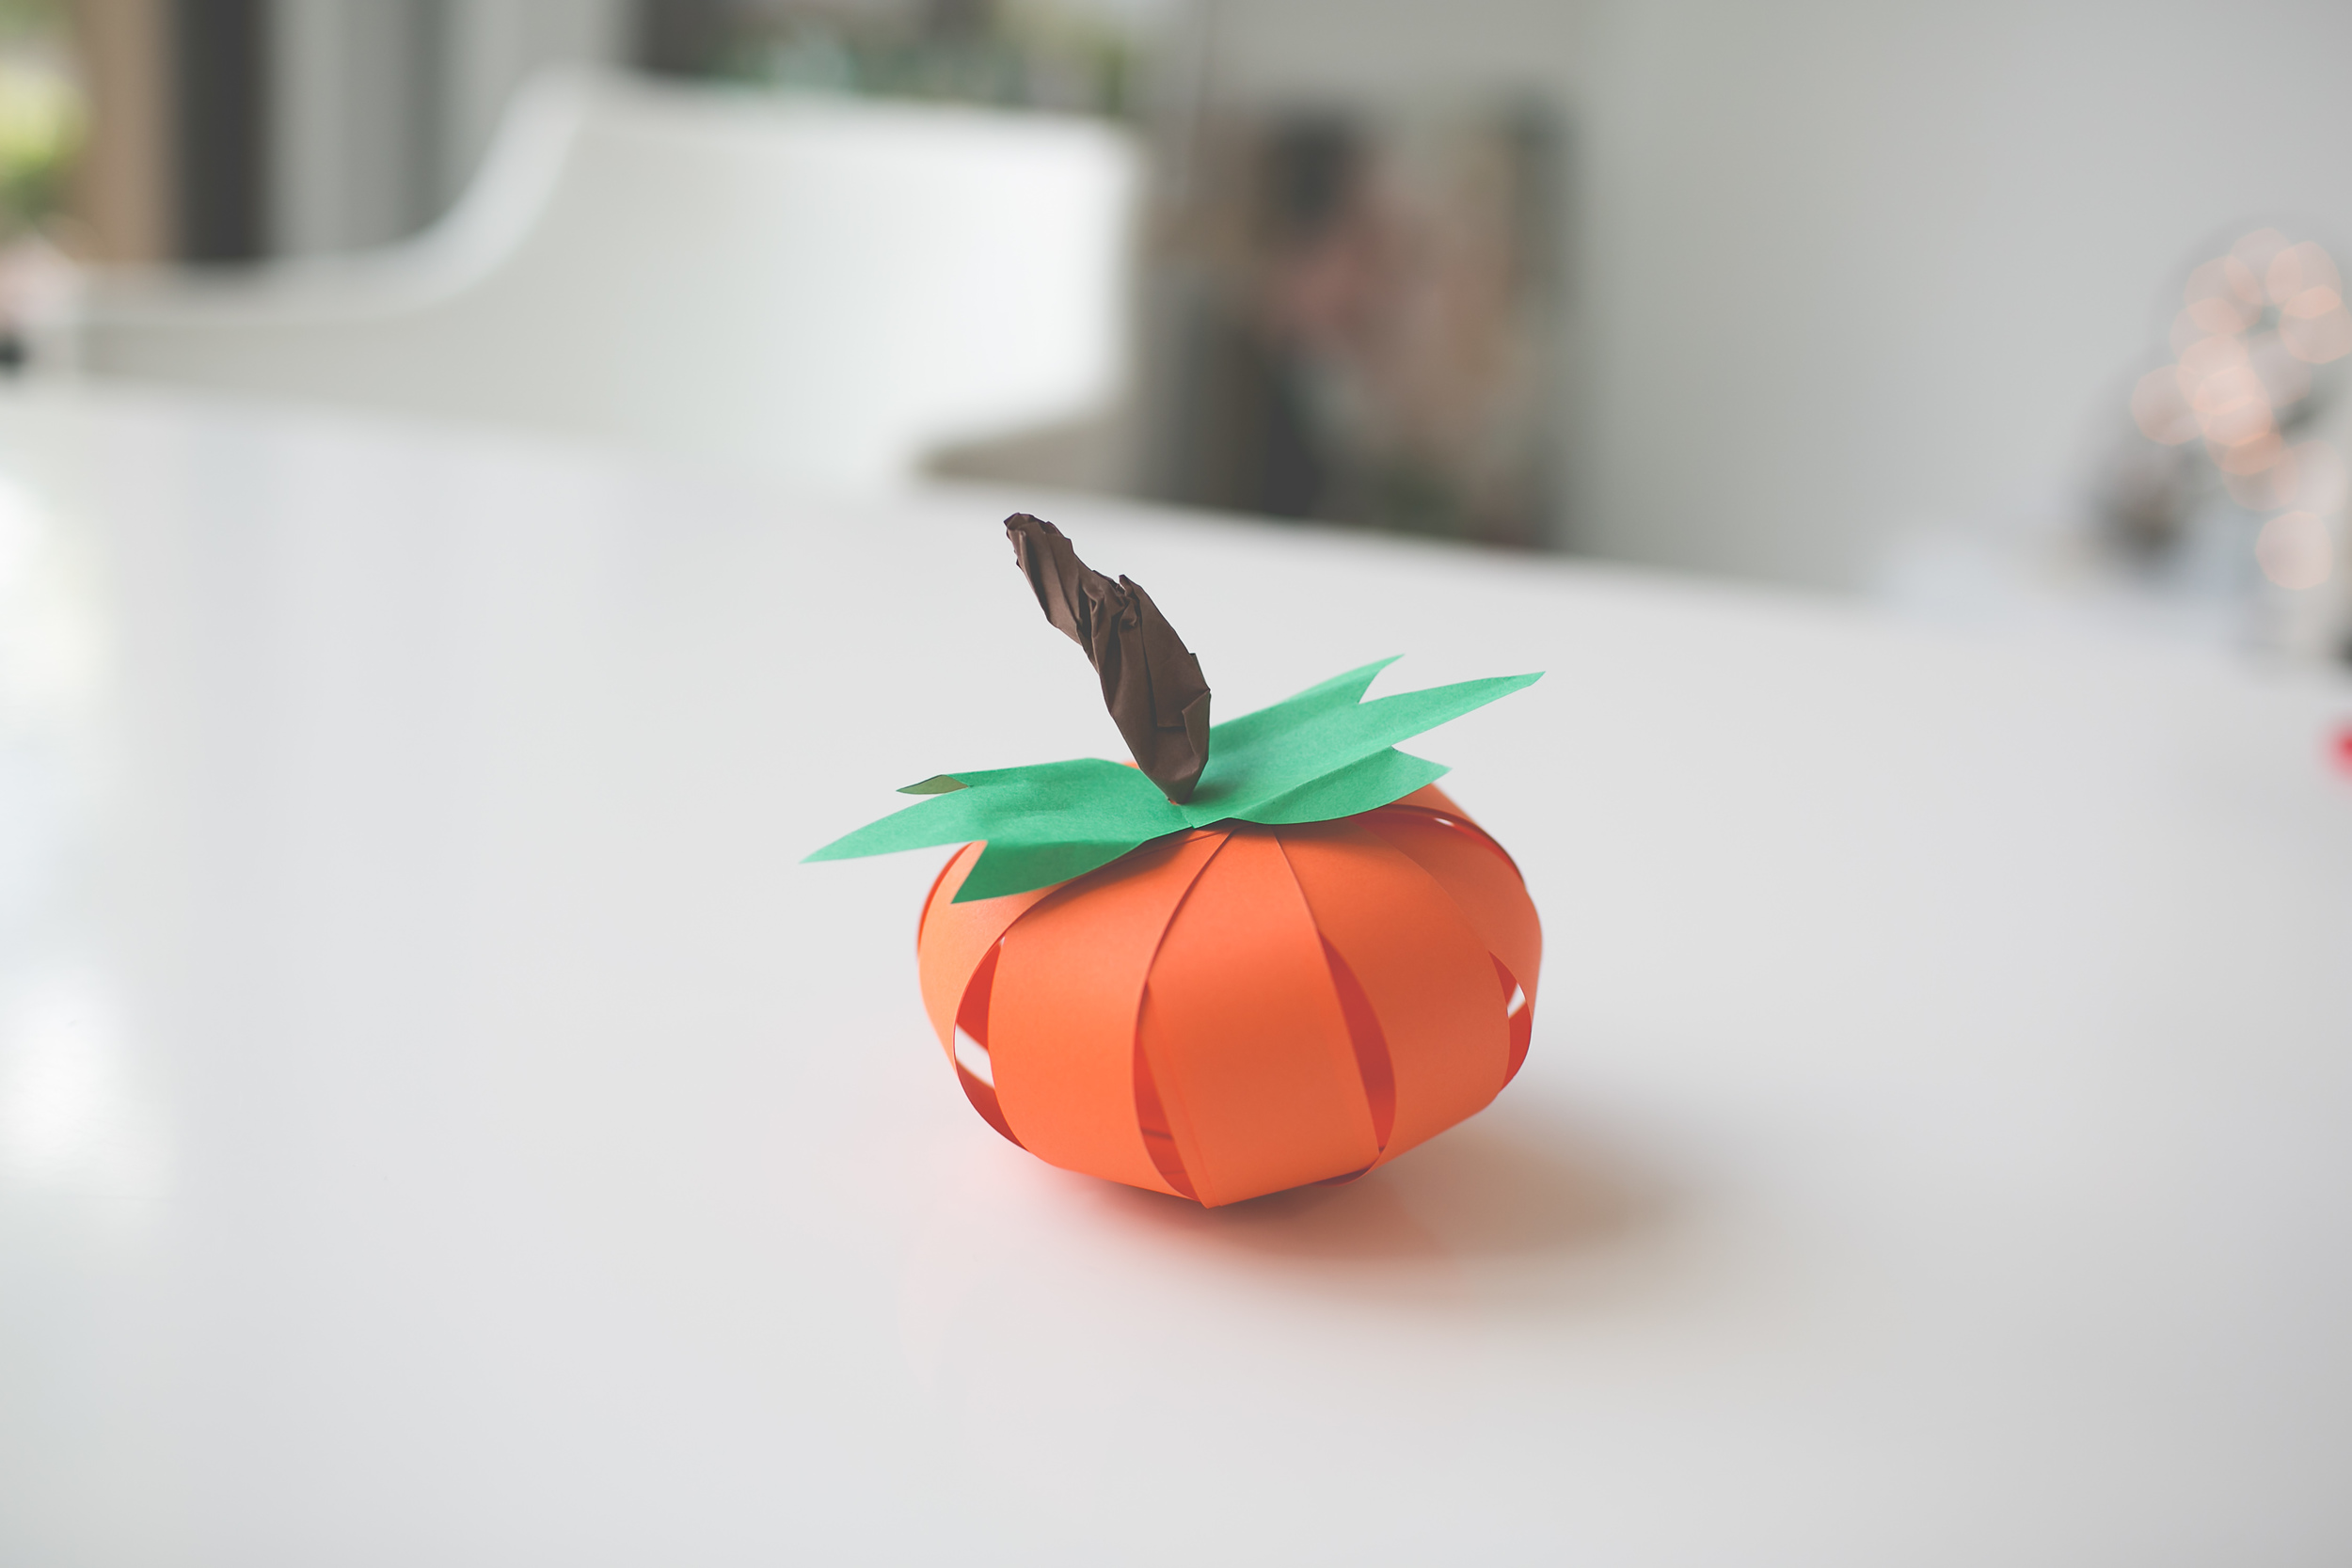
A few weeks ago we did these quick and easy, little, paper pumpkins as a free craft in our store. We got a great response, but I know that a lot of our Instagram followers wished they could have been there. I figured- why not do a little tutorial so you all can make them at home? I know, Halloween is this weekend- but this is such an awesome craft for any fall decor (would be so cute in a cluster for a Thanksgiving centerpiece!) Plus they only take a few minutes- so why not?

This is an easy craft for kids or adults! I would love to see it done with patterned paper or as a garland (WOULD BE SOOO CUTE) but whatever you do- tag us @paperieandpen #radpaperhowto so we can see! 

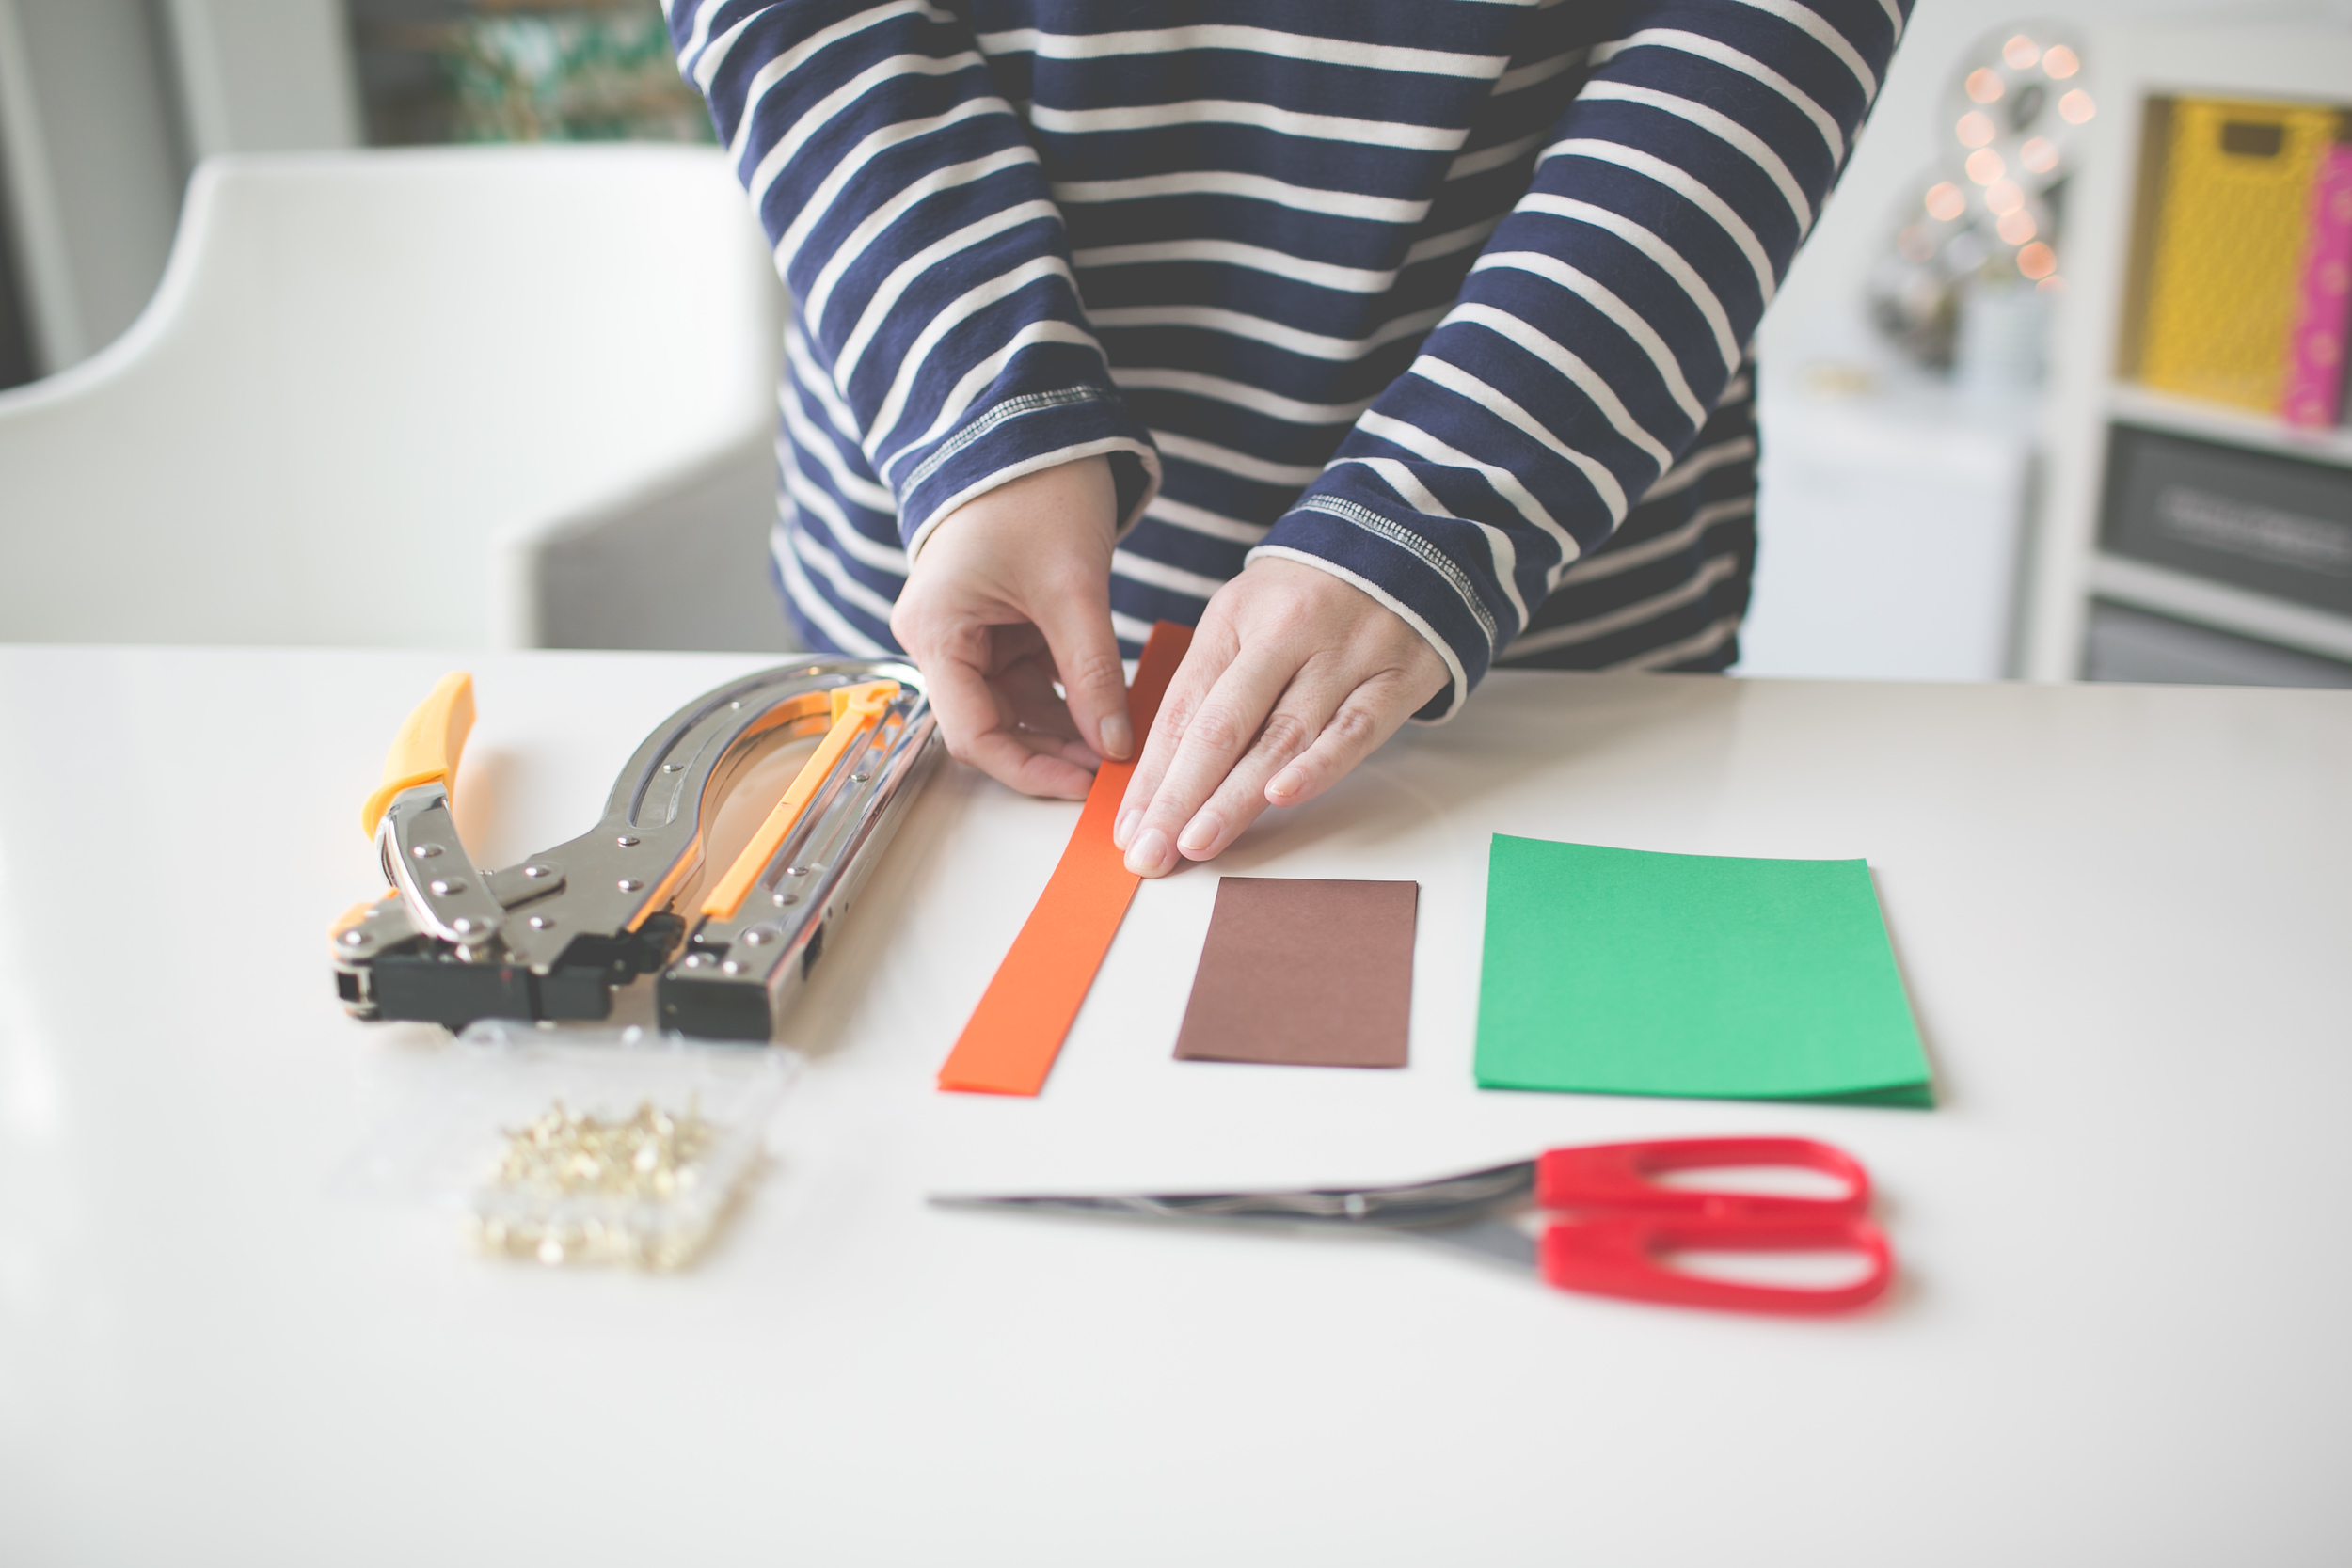
The supplies are pretty simple and straight forward. The best paper would be a text weight (thin) paper like from an office copy machine. I think it would also work well to use wrapping paper or a non-cardstock scrapbook paper. If you would like to …

The supplies are pretty simple and straight forward. The best paper would be a text weight (thin) paper like from an office copy machine. I think it would also work well to use wrapping paper or a non-cardstock scrapbook paper. If you would like to make a larger pumpkin, you can make the strips longer and use more of them.

A normal hold punch works fine, just make sure you are punching the holes in the same place. But if you do a lot of hole-punching, a Crop-a-dile will be the best thing that has ever happened to you...since you can punch through a whole stack at once!

Paper_Pumpkin_DIY_Paper_Craft_Easy_Simple_Cheap_kid_adult_decor_halloween_thanksgiving-103.jpg
Paper_Pumpkin_DIY_Paper_Craft_Easy_Simple_Cheap_kid_adult_decor_halloween_thanksgiving-104.jpg

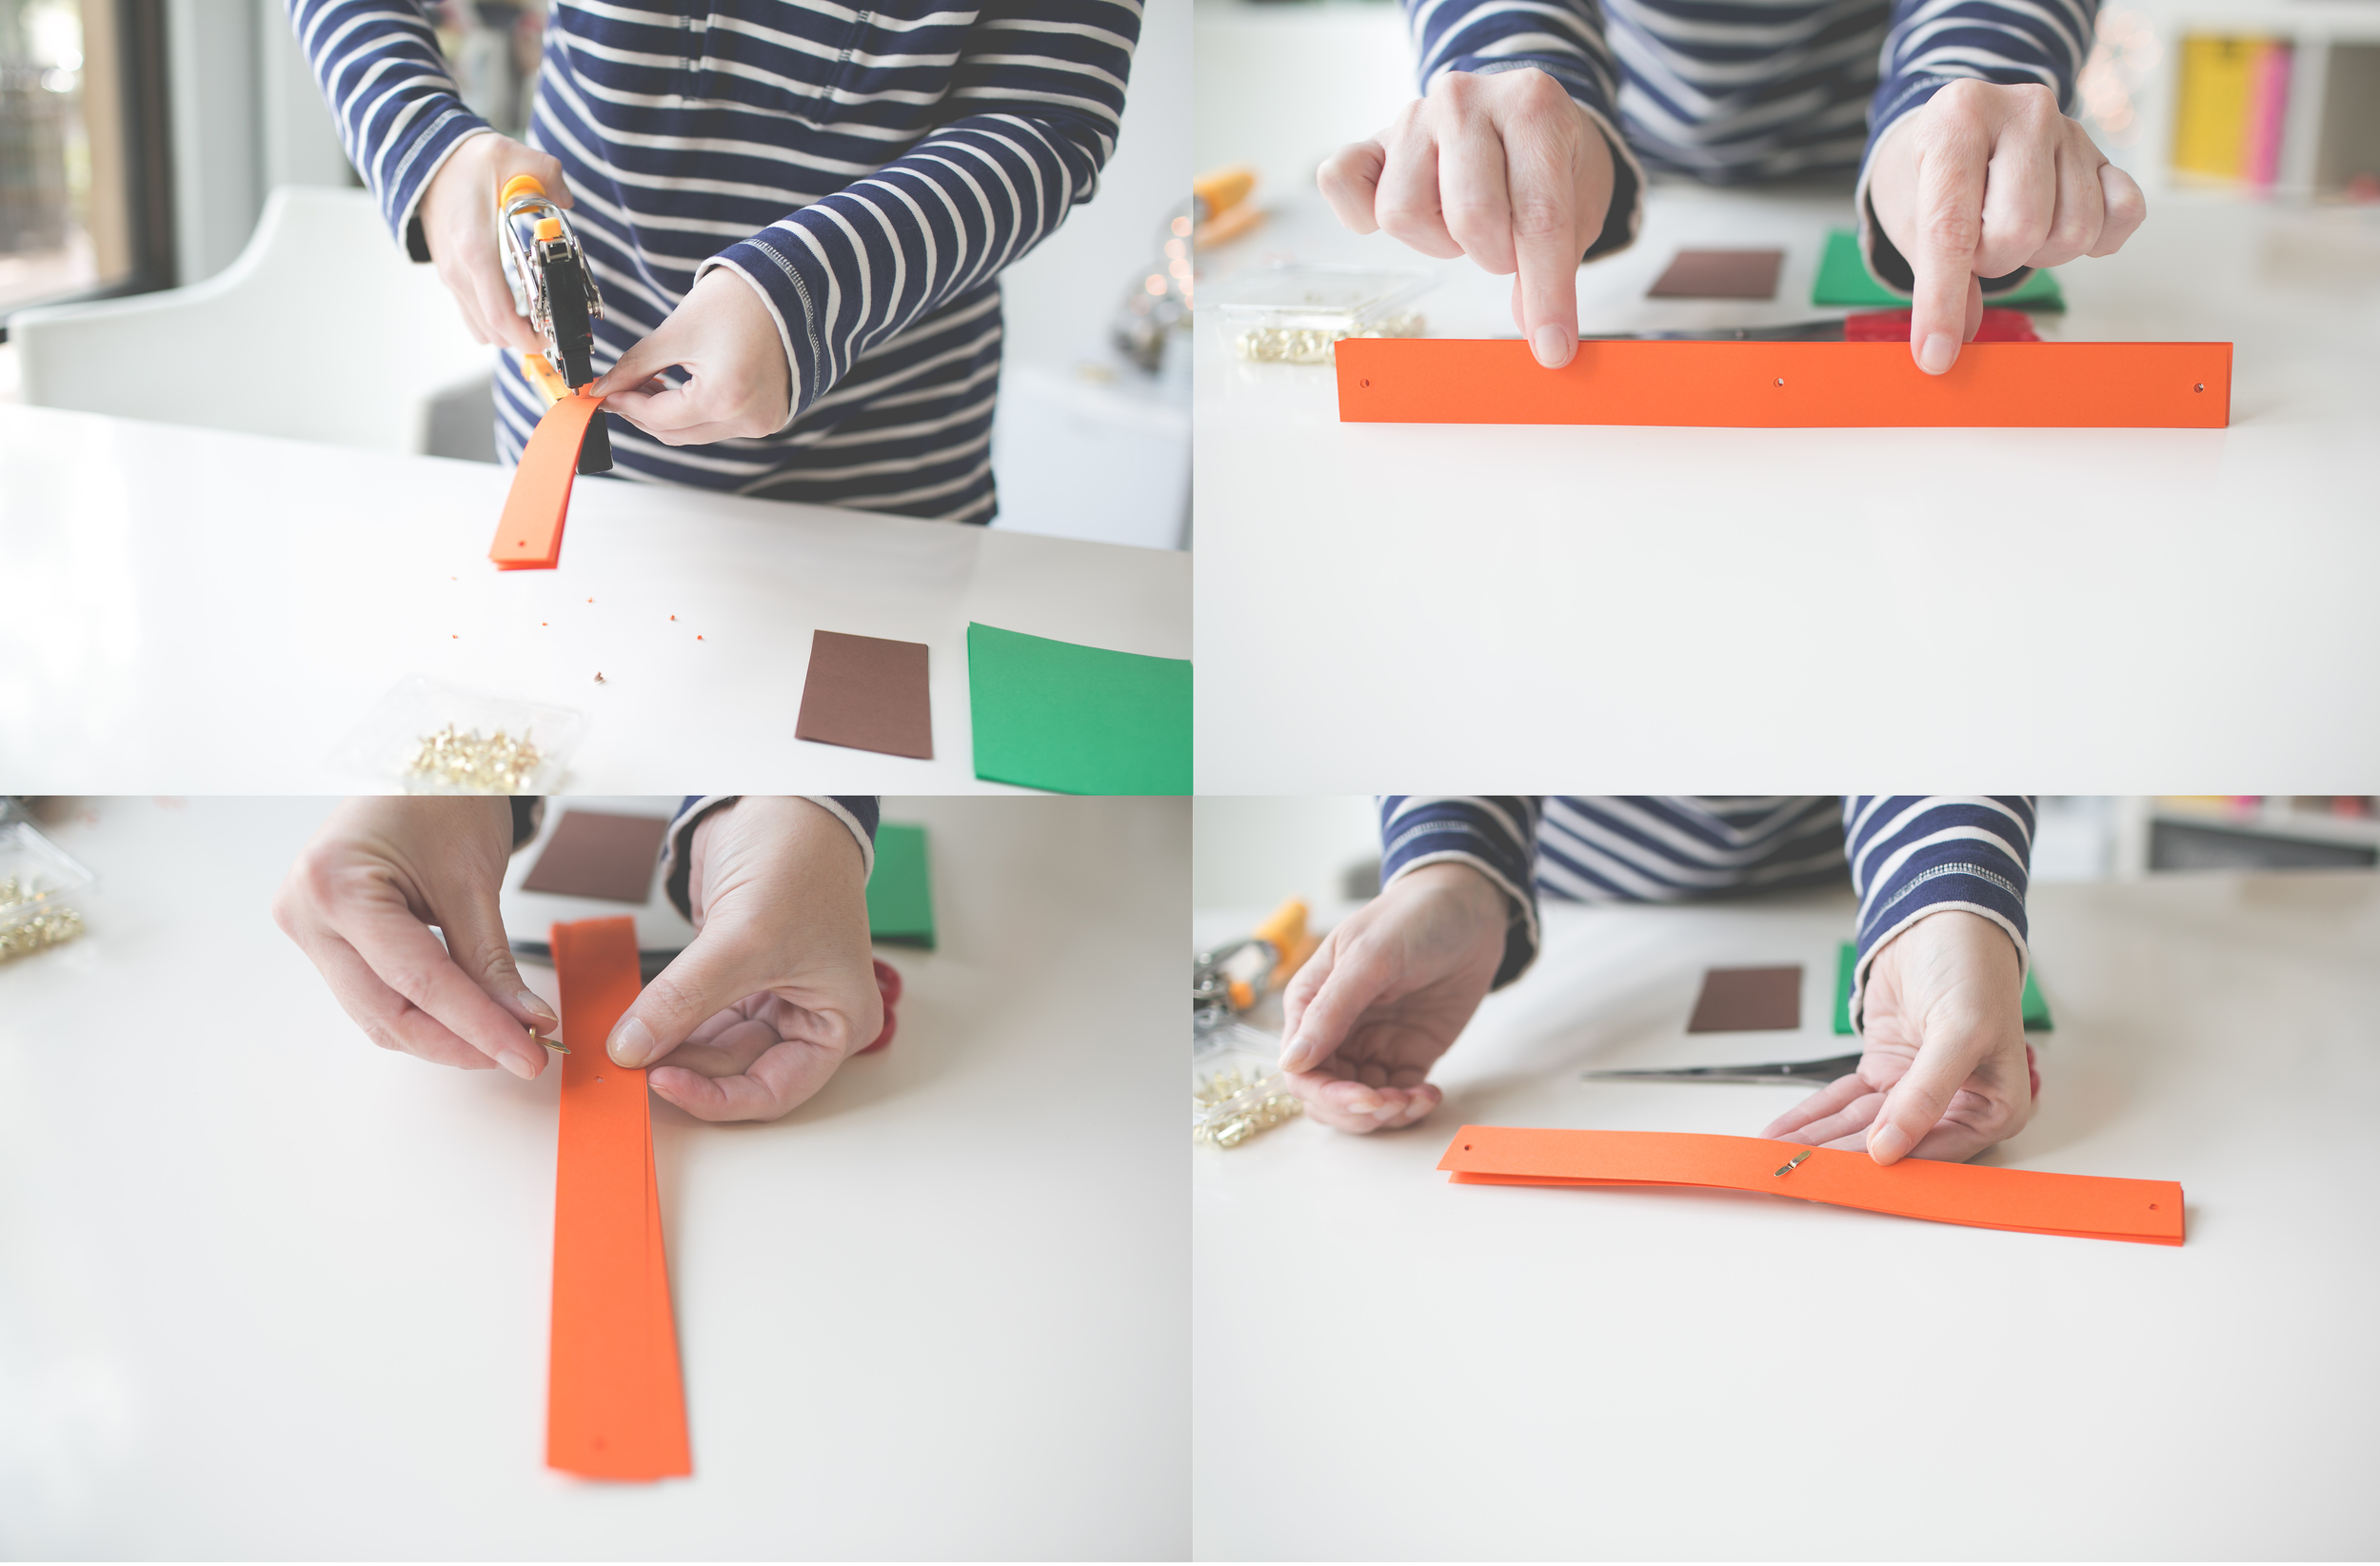
Punch 2 equal holes in your paper strips- one on each end, and one in the center. You will then assemble a brad in the center hole and fan out your strips into an equal circle.

Take another brad (point side up) and start gathering the ends of the strips one by one until you for a nice spherical shape. It works best if you alternate strips that are across from each other. When you have collected all of the ends, loosely open the brad to keep it all together while you cut your leaves. 

Take your leaf paper and fold in half. Cut a leaf shape out of one side. If you would like to draw it first, you may- but you can just freehand with the scissors if you are daring.

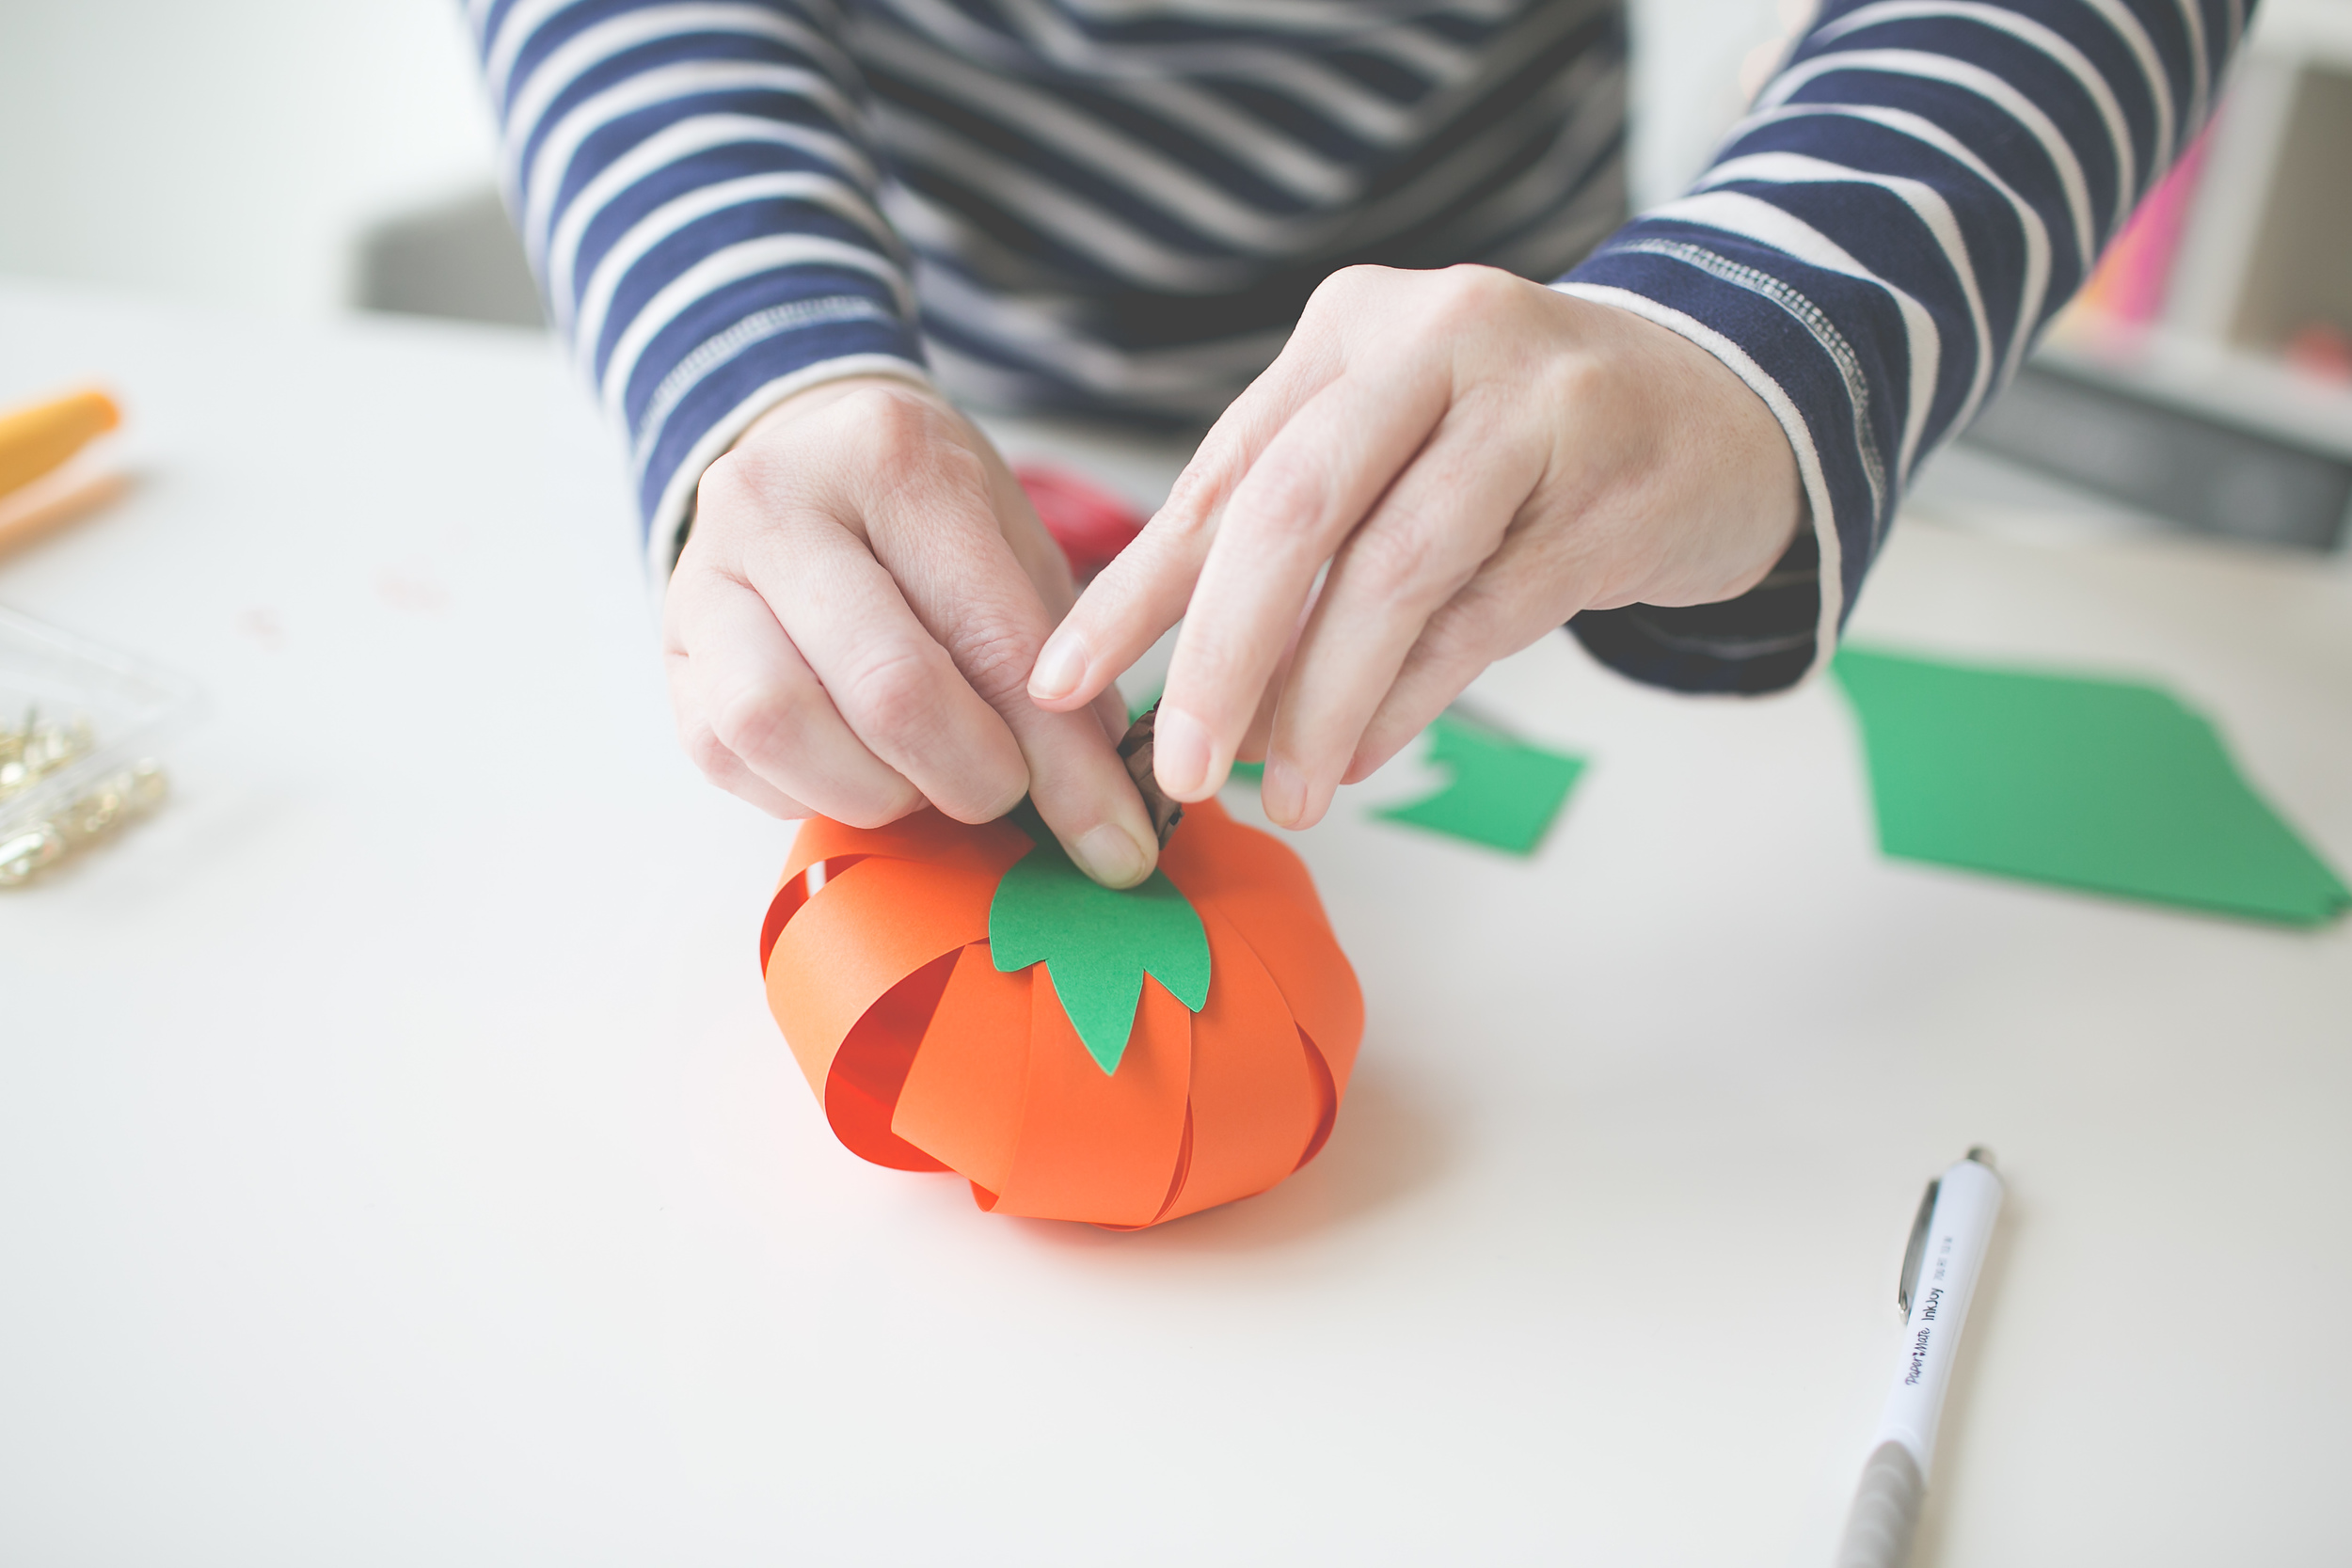
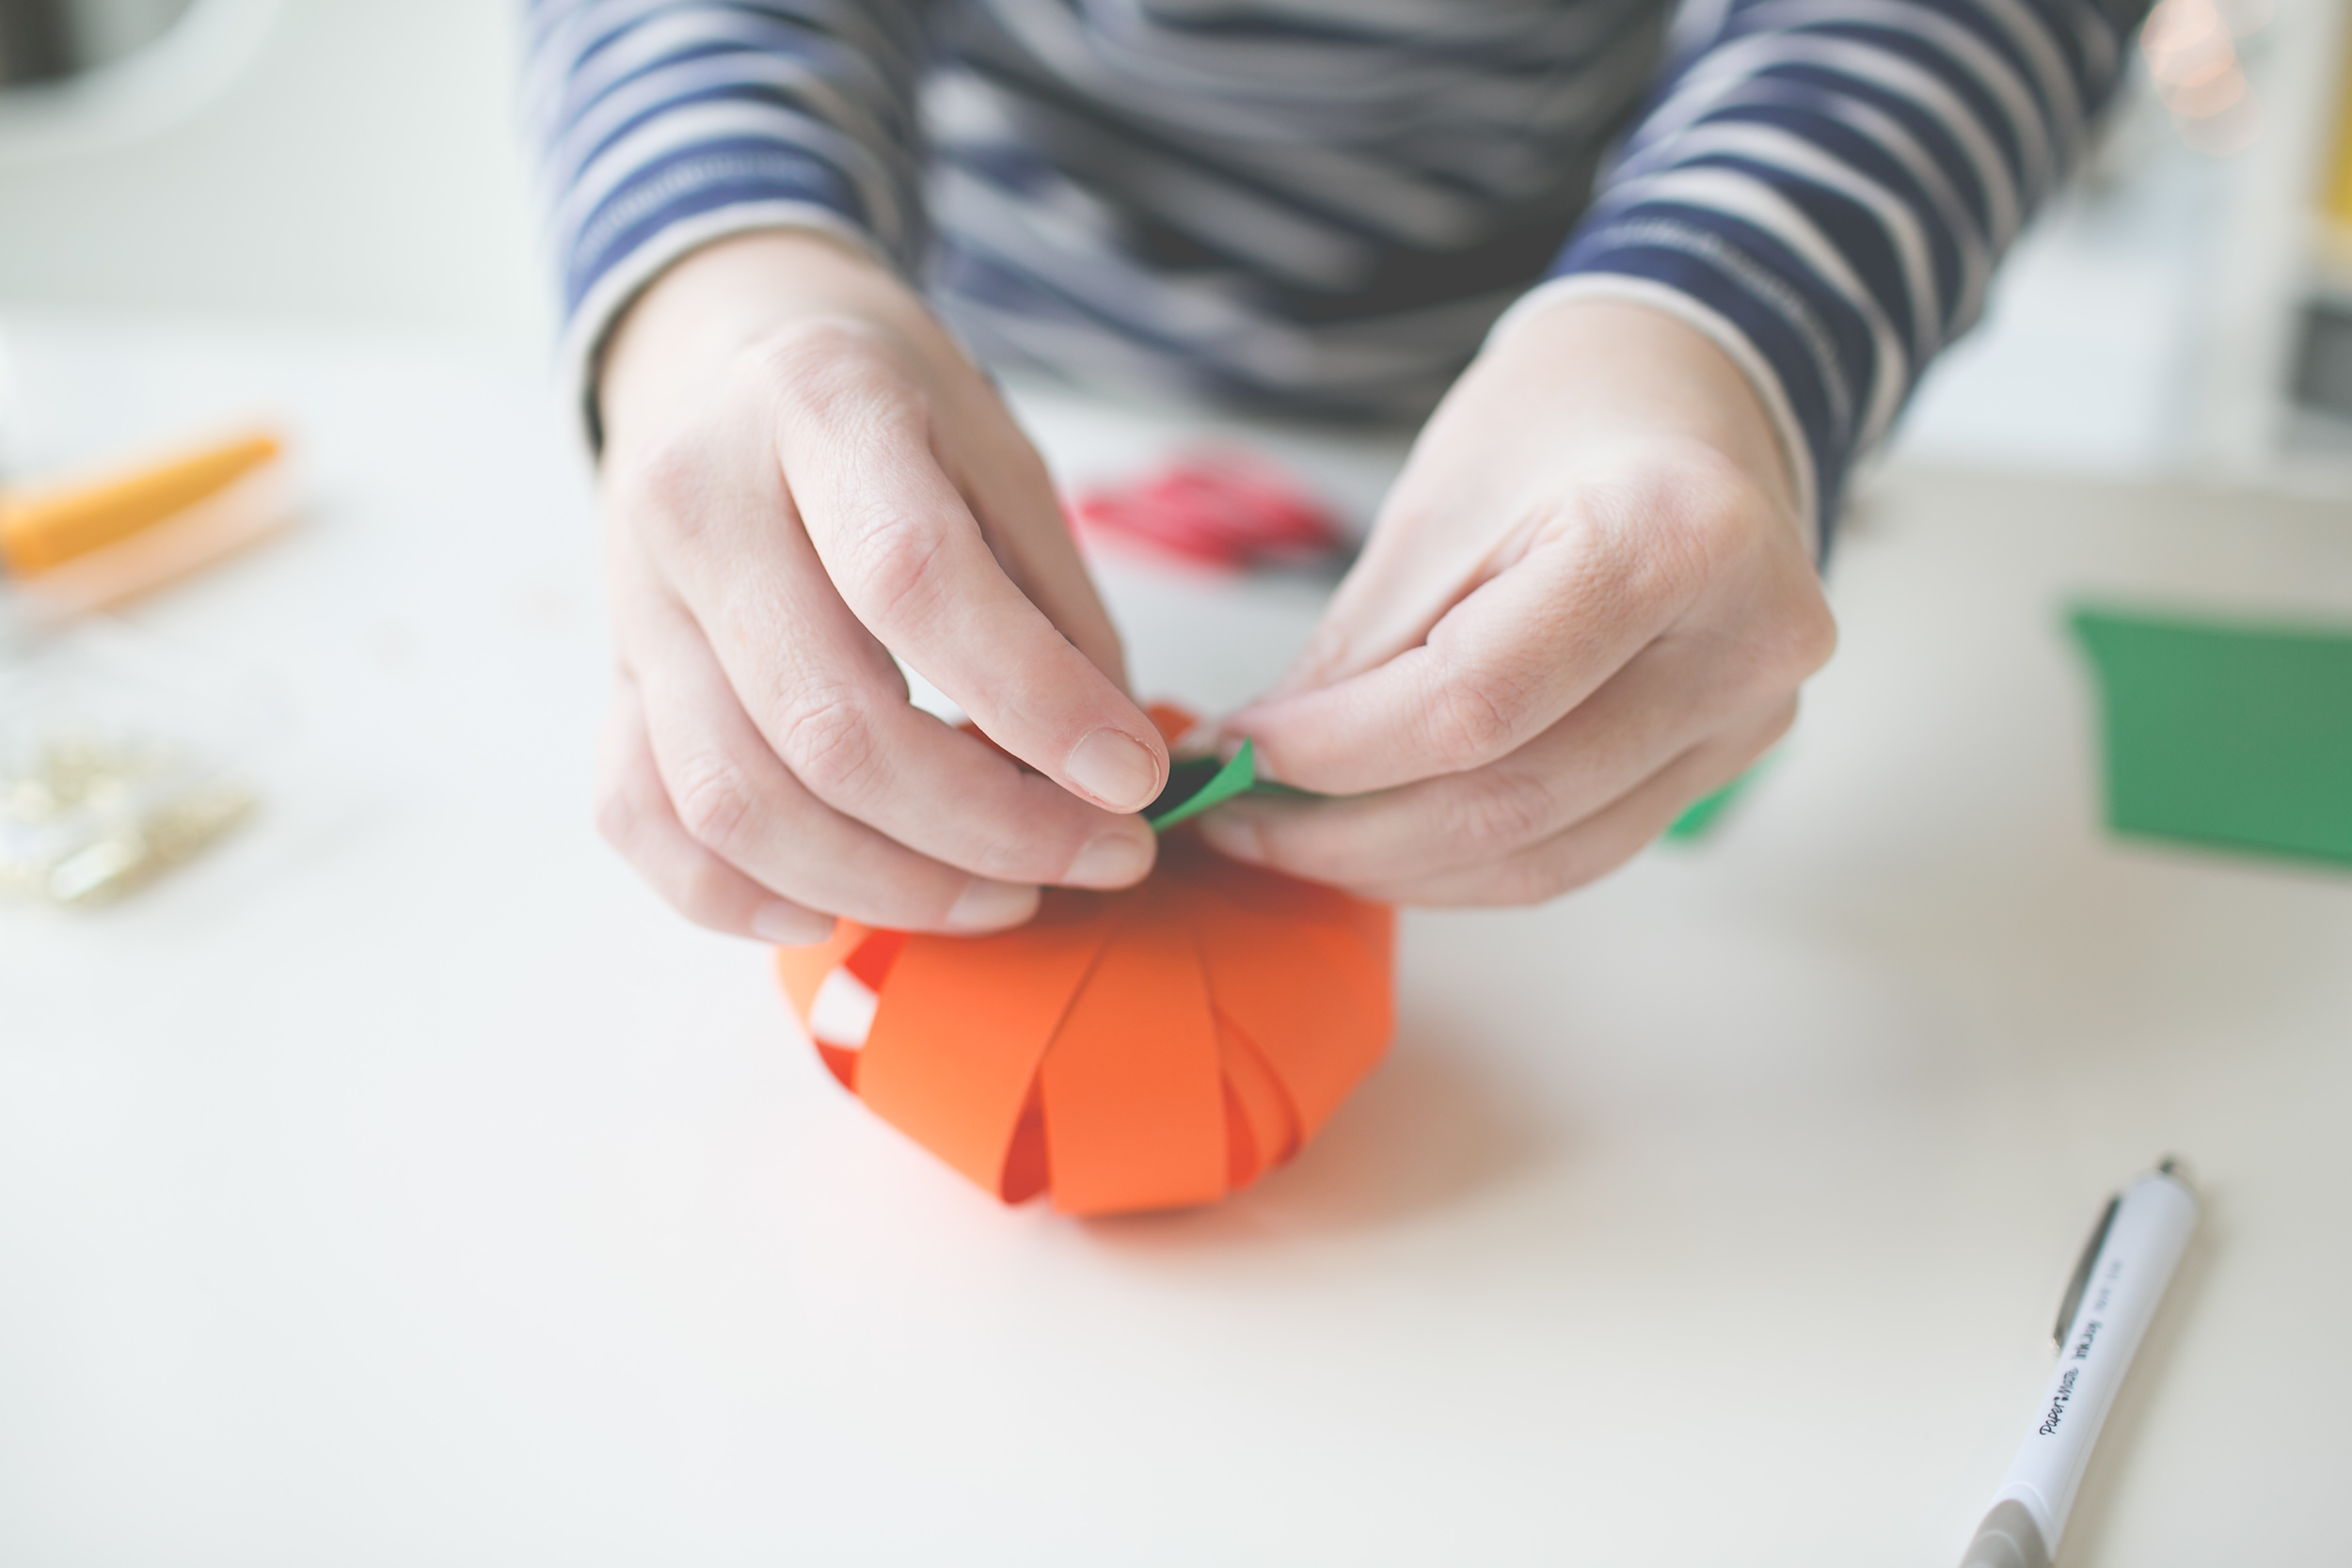
Open up your leaf shape and make sure you like the size with your pumpkin, feel free to trim down if you would like. Once you are ready, punch a hole in the center of the leaves and the center of your brown rectangle. Then you can open the brad at the top of your pumpkin and add the leaves and brown, then re-open the brad and tightly fasten.

You can then start to scrunch and twist the brown paper into a stem. Be careful not to pull it off of the brad while you are doing this. But the more that you twist and manipulate the end upward- the more it looks like a stem.

Paper_Pumpkin_DIY_Paper_Craft_Easy_Simple_Cheap_kid_adult_decor_halloween_thanksgiving-108.jpg
Paper_Pumpkin_DIY_Paper_Craft_Easy_Simple_Cheap_kid_adult_decor_halloween_thanksgiving-109.jpg
Paper_Pumpkin_DIY_Paper_Craft_Easy_Simple_Cheap_kid_adult_decor_halloween_thanksgiving-110.jpg

You are finished! Feel free to add finishing touches to your pumpkin- we crinkled our leaves a little bit. We would love to see how yours turned out- make sure to tag us: @paperieandpen #radpaperhowto

Hope you had fun!

In #radpaperhowto DIY Tags DIY, paper pumpkins, easy craft, easy halloween craft, fall craft, thanksgiving craft, paper craft, Paperie + Pen, Paper Store, Village at Meridian, Idaho Business
Comment

Summer Workshop Schedule

Ampersand Studios June 26, 2015

#RADPAPERHOWTO SUMMER WORKSHOPS

Call to reserve your space 208-888-7786 - classes fill up quickly!

Fri. 7/10/15 - 6:00p - Anthropologie Grand Opening craft on the sidewalk *free
Thur. 7/16/15 - 6:00p - Paper Succulent Workshop $15
Thur. 7/23/15 - 6:00p - Freestyle Lettering // ink+watercolor $35

Sat. 8/1/15 -10:00a - Intro to Modern Calligraphy by Sarah Pearl Studio $75
Thur. 8/6/15 - 6:00p - Escape to the Village First Thursday craft on the sidewalk *free
Fri. 8/14/15 - 6:00p - Paper Flower Ranunculus Workshop $35

Thur. 9/3/15 - 6:00p - Escape to the Village First Thursday craft on the sidewalk *free
Sat. 9/12/15 - 10:00a - Intro to Modern Calligraphy by Sarah Pearl Studio $75
Thur. 9/24/15 - 6:00p - Freestyle Lettering // ink+watercolor $35

Class space is limited and will fill up fast! registration fees are non-refundable,
and must be paid prior to reserving slots. (includes supplies)
*free classes are open to the public and do not require registration (while supplies last)

In #radpaperhowto DIY
Comment

HOW TO: Calligraphy Name Badges

Ampersand Studios June 22, 2015

If you have been in our store recently, you have probably noticed our super cute, new name tags! Just like everything in our store, we wanted something beautiful, hand-crafted and unique. Lucky for you- they are EASY and you don't have to be an artist or calligrapher to make them for yourself. And the technique can be applied to many different crafts, not necessarily just name badges. SO get creative and make sure you share your awesomeness on Instagram (tag @paperieandpen #radpaperhowto)


Okay- let's get started! What do you need?

Wood name badges, or whatever blank surface you are using for your craft

Acrylic Spray

Acrylic Paints & Brushes (craft paints are perfect)

Pencil

Calligraphy Pen & Ink *or* Permanent Marker

Name Badge Magnets (available on Amazon.com)

Optional: If you are not the best "free hander," use a computer to print out the names in the size and font you want for the first steps. If you are a good "free hander"...good for you!

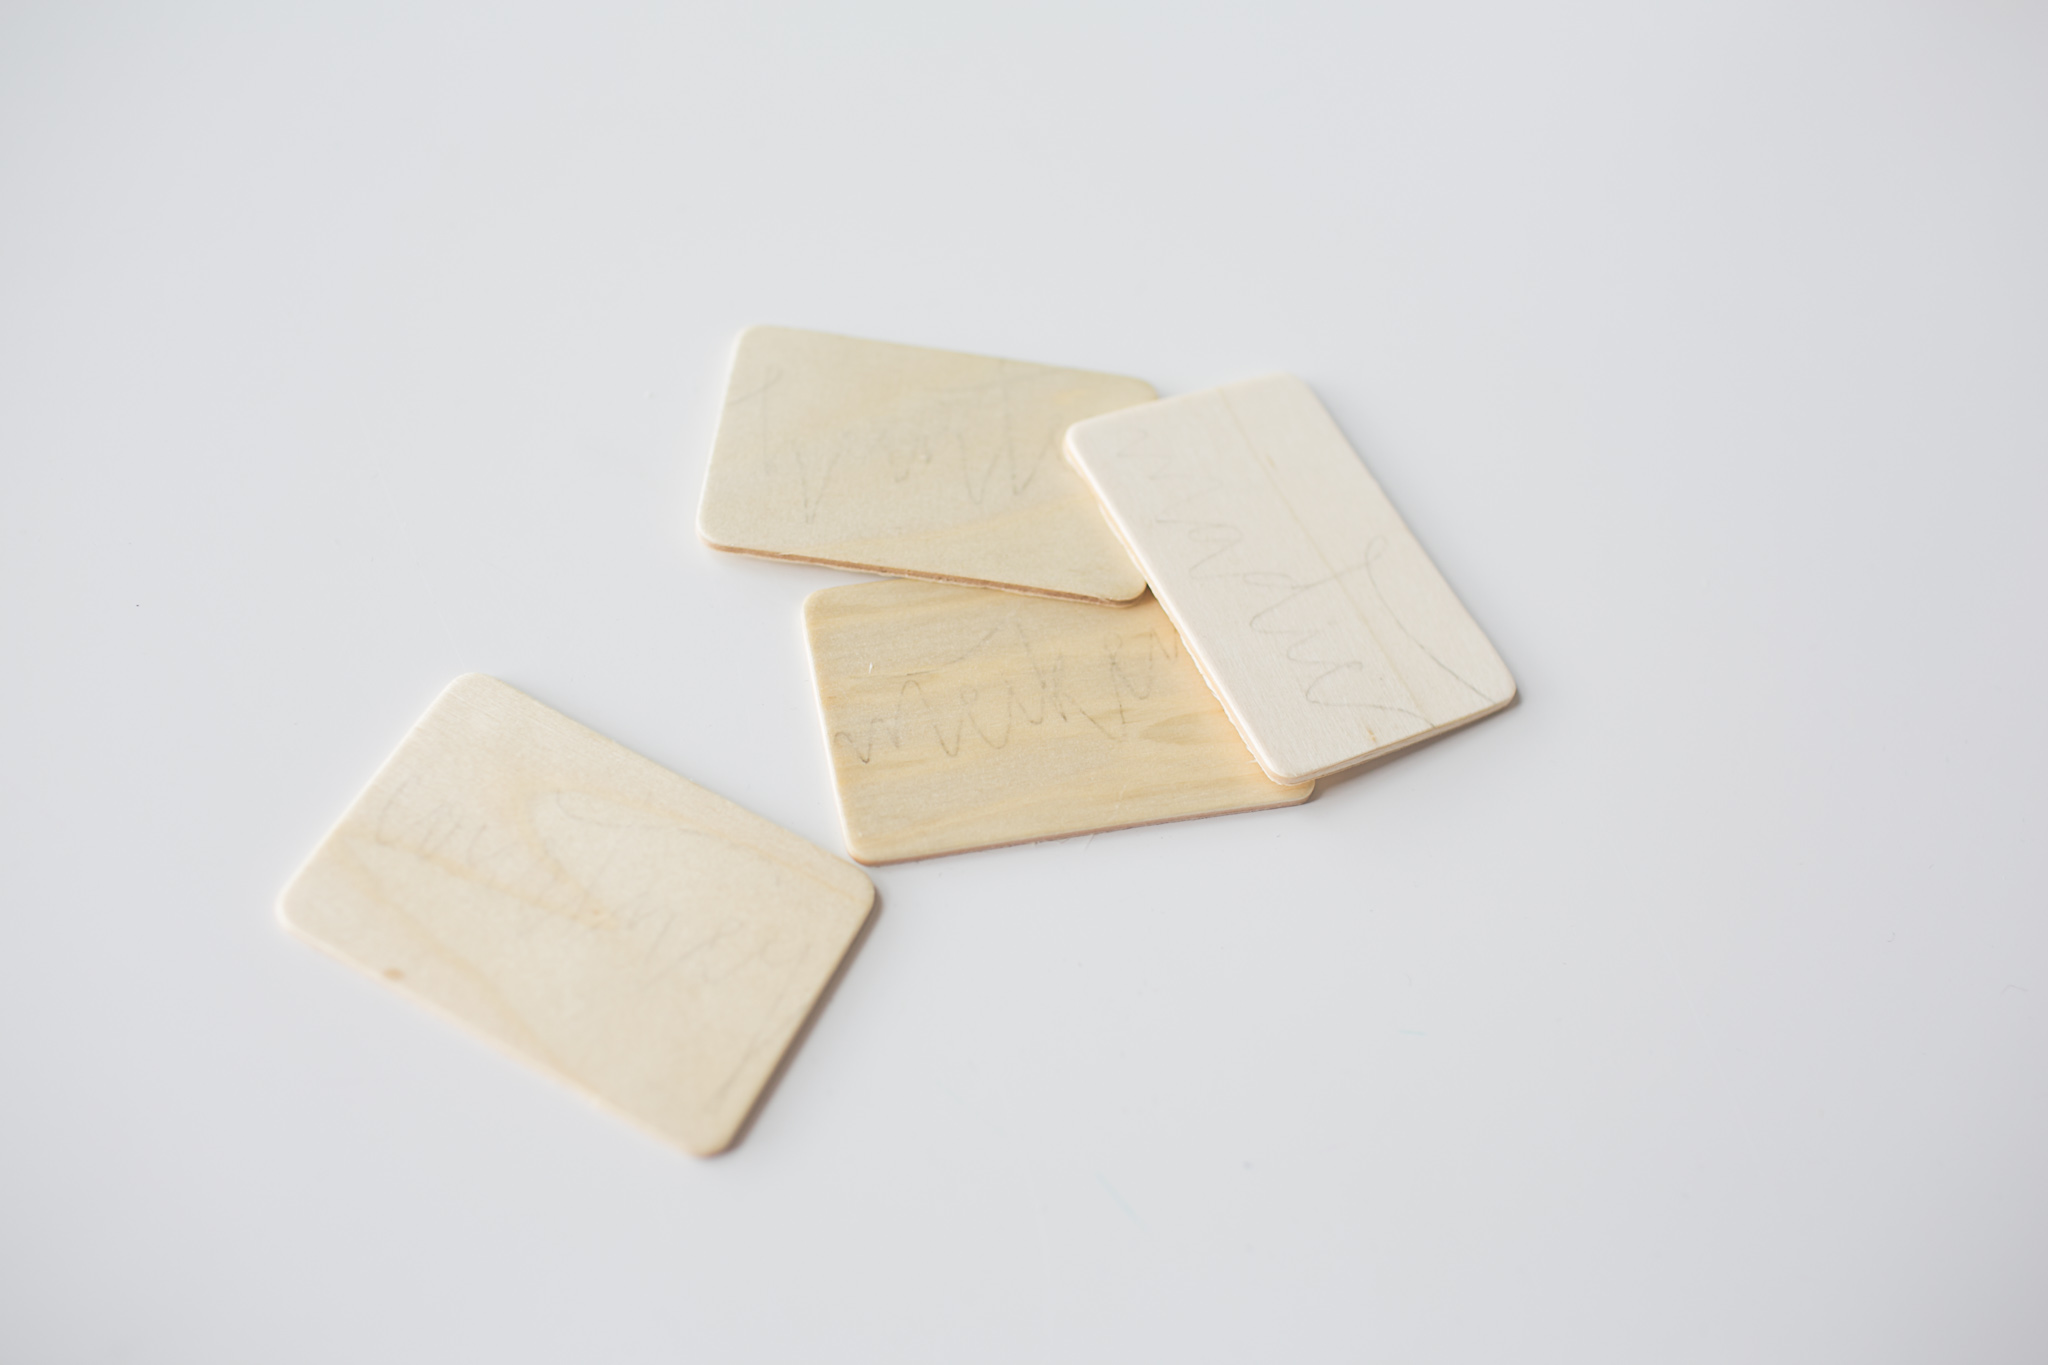
Start by spraying a few coats of the acrylic spray on the wood badges. This will make it so your ink doesn't bleed into the woodgrain.

Start by spraying a few coats of the acrylic spray on the wood badges. This will make it so your ink doesn't bleed into the woodgrain.

If you need to "hack" your calligraphy- lay out your favorite font in the size you would like to use. You can do this is many programs- including Word and Pages which is on every computer. If you have Photoshop or Illustrator, that works too!

If you need to "hack" your calligraphy- lay out your favorite font in the size you would like to use. You can do this is many programs- including Word and Pages which is on every computer. If you have Photoshop or Illustrator, that works too!

Print out on regular printer paper (do not 'fit to page')

Print out on regular printer paper (do not 'fit to page')

use the side of your pencil to create a 'carbon paper' (if you would rather use actual carbon paper- that works great too) only worry about laying the pencil on the areas with printing.

use the side of your pencil to create a 'carbon paper' (if you would rather use actual carbon paper- that works great too) only worry about laying the pencil on the areas with printing.

Lay the paper down on your wood (pencil-side-down) and trace over the printed words with a ballpoint pen, or with the pencil you were just using. This will transfer a light outline onto your surface.

Lay the paper down on your wood (pencil-side-down) and trace over the printed words with a ballpoint pen, or with the pencil you were just using. This will transfer a light outline onto your surface.

Use a calligraphy pen or permanent marker to trace over your pencil marks. Refer to your print out and note where your thicks and thins are in each letterform. In calligraphy, your downstrokes will be thick and your upstrokes thin. If you are a begi…

Use a calligraphy pen or permanent marker to trace over your pencil marks. Refer to your print out and note where your thicks and thins are in each letterform. In calligraphy, your downstrokes will be thick and your upstrokes thin. If you are a beginner, it is sometimes easier to write thinly and go back to thicken the downstroke areas- especially if you are using a marker. 

Once you have all of your names written- you can add a little detail (I added a little silver ink to the letters to help clean up some of my lines and add some dimension) Now- time to add flowers! I added some simple flower 'blobs' (the flower style…

Once you have all of your names written- you can add a little detail (I added a little silver ink to the letters to help clean up some of my lines and add some dimension) Now- time to add flowers! I added some simple flower 'blobs' (the flower style that is popular right now is very simple- so don't overthink!)

Time to add greenery- start with a dark green to make stems and leaves in the places you want them. If you want to make more buds in different colors, this is a good opportunity to plot our where you want these to go.

Time to add greenery- start with a dark green to make stems and leaves in the places you want them. If you want to make more buds in different colors, this is a good opportunity to plot our where you want these to go.

Add the buds to the places you planned. To add some dimension, add some darks to the centers of the first flowers you created- and some light greens to the leafy areas.

Add the buds to the places you planned. To add some dimension, add some darks to the centers of the first flowers you created- and some light greens to the leafy areas.

Add flower centers, and any other special finishing touches. I added some metallic gold detail with a calligraphy pen and ink to give a little bit of sparkle. Make it your own!

Add flower centers, and any other special finishing touches. I added some metallic gold detail with a calligraphy pen and ink to give a little bit of sparkle. Make it your own!

Give the lot a nice thorough spray with your clear acrylic. I used a glossy finish and did about 3 good coats letting them dry in between.

Give the lot a nice thorough spray with your clear acrylic. I used a glossy finish and did about 3 good coats letting them dry in between.

Here they are! Each one special in it's own way. Just stick your magnets on the back/top if you are using these as name badges- and VOILA!!!

Here they are! Each one special in it's own way. Just stick your magnets on the back/top if you are using these as name badges- and VOILA!!!

And now that each of our employees will be getting their own special, hand-painted name tag....it will take time. SO I had a brilliant idea for when we hire someone new! (this one I DID free-hand without any print out or transfer, so if you feel con…

And now that each of our employees will be getting their own special, hand-painted name tag....it will take time. SO I had a brilliant idea for when we hire someone new! (this one I DID free-hand without any print out or transfer, so if you feel confident- give it a GO with your own handwriting?) And no, we aren't opposed to hiring 'new guy's--I just figure they might want a more masculine look anyway- and that is a whole notha' DIY!!!

HOPE YOU ENJOYED THIS 'HOW TO' ---we can't wait to see yours!  Instagram (tag @paperieandpen #radpaperhowto)

HOPE YOU ENJOYED THIS 'HOW TO' ---we can't wait to see yours!  Instagram (tag @paperieandpen #radpaperhowto)


In #radpaperhowto DIY Tags Name tags, Nametags, diy, wood, watercolor, flowers, calligraphy, calligraphy hacks, crafts
1 Comment

Follow us on instagram! @paperieandpen

Share photos of your goodies or of your fun times in our shop, and you'll be entered to win pretty paper things!

*Must tag @paperieandpen in your posts to qualify.

facebook-unauth instagram-unauth email

Follow us on instagram @PAPERIEANDPEN

Paperie + Pen

Creating beautiful custom invitations and announcements since 2009.

Fine Stationery, Gifts and Specialty Paper.

Ampersand Studios | 1020 W MAIN ST, Boise, United States

facebook-unauth instagram-unauth email